Being locked out of your Android phone can be a frustrating and stressful experience, especially when important contacts, files, and photos are at stake. Whether it’s due to a forgotten PIN, password, or Pattern, being unable to access your phone can feel like losing control. Fortunately, there are ways to reset your device. While resetting your phone is a proven solution to unlock your phone and remove passwords, pins, or patterns, it comes at the cost of losing all data stored on the device. Photos, documents, music, and other files will be deleted during the reset process, emphasizing the importance of regular backups to safeguard your valuable data. In this guide, we’ll explore various methods on how to reset an Android phone when locked, including recovery mode, Find My Device, Android Device Manger, and 3rd party solutions .
What Does Resetting Your Phone Really Do?
Resetting your Android phone is a process that erases all the data stored on the device, returning it to its original factory settings. This includes removing personal data such as accounts, apps, passwords, photos, and other files. Additionally, any changes made to system settings are reverted to their default state. While it’s an effective way to resolve issues or regain access to a locked phone, resetting should be approached with caution, as it permanently deletes all data that is not backed up. Here are some common reasons why resetting an Android phone may be necessary:
1. Selling or Trading the Phone to Remove Sensitive Data
When selling or trading your phone, it’s crucial to remove your personal information completely. Resetting the phone deletes sensitive data such as payment details, social media accounts, and photos, safeguarding your privacy. It provides peace of mind that no information will remain accessible to the next user.
2. Removing Corrupted Applications or Files Causing Performance Issues or glitches
Over time, your phone may accumulate corrupted files or malfunctioning apps, leading to sluggish performance or errors. Resetting clears these issues by eliminating all unnecessary or harmful data and effectively restoring the phone to optimal working conditions. This is particularly useful when troubleshooting persistent software problems.
3. Removal of Persistent Malware Variants
If your Android phone is infected with hard-to-remove malware and you have tried all other methods to eliminate it without success, a factory reset may be your only option. This reset will erase all data on your device, including any potentially infected apps that may harbor viruses or other malware threats.
5 Useful Methods to Reset a Locked Android Phone
1. Boot Into Recovery Mode
Recovery mode is a built-in feature in Android devices designed for troubleshooting and performing maintenance tasks. It provides access to various system-level options, including factory resetting a locked phone. If you cannot unlock your Android device using conventional methods, booting into recovery mode is a reliable way to reset it to factory settings. This process bypasses the lock screen, allowing you to erase data and start fresh.
Warning About Data Loss and Backups
A manual factory reset will delete all personal data, including photos, apps, contacts, and settings. It’s crucial to ensure that essential data is backed up regularly to a cloud service like Google Drive or an external storage device. Unfortunately, if your phone is locked and backups weren’t set up beforehand, this data will be permanently lost during the reset process.
Step-by-Step Guide to Boot Into Recovery Mode
1. Turn Off the Device
- Press and hold the Power button until the power menu appears. Select “Power Off” to turn off the phone completely.
2. Use Button Combinations to Enter Recovery Mode
The button combination for entering recovery mode varies by manufacturer, but the most common method is:
- Press and hold the Volume Up button and the Power button simultaneously.
- You may need to hold the Volume Down button for some devices instead.
- On Samsung devices, you may also need to press the Bixby button (if applicable).
Hold the buttons until the device logo or recovery menu appears on the screen.
3. Navigate the Recovery Menu
- Once in recovery mode, navigate the menu options using the Volume Up and Volume Down buttons.
- Locate and select the option labeled Wipe Data/Factory Reset or Erase All User Data.
- Use the Power button to confirm your selection.
4. Confirm Factory Reset
- You will see a warning that all data will be erased. Use the volume buttons to select Yes or Confirm, then press the power button to proceed.
5. Reboot the Device
- After the reset is complete, the recovery menu will reappear. Navigate to Reboot System Now and press the power button to restart the phone.
- The device will restart and boot up as if it’s brand new.
2. Reset the Phone Using Android Device Manager
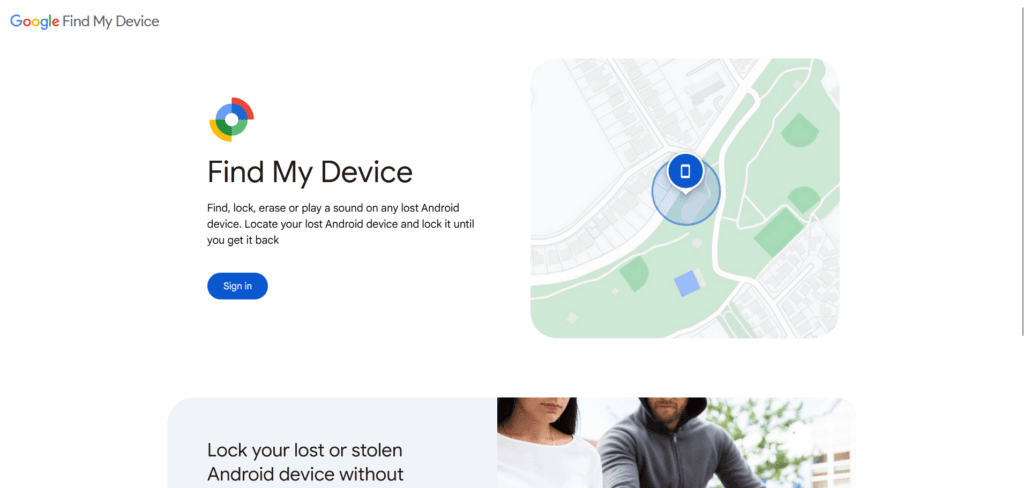
Android Device Manager, now known as Find My Device, is a powerful tool that allows you to locate, lock, and erase your Android phone remotely. This feature is handy if your device is locked or stolen. By erasing your device through this method, you can effectively perform a factory reset to remove lock screen barriers.
Step-by-Step Guide to Reset via Android Device Manager
- Access Android Device Manager
- Open a web browser on your computer or another mobile device.
- Go to android.com/find.
Sign In with the Synced Google Account
- Log in using the Google account associated with your locked Android phone.
Select the Locked Device
- Select the phone you want to reset from the list of devices linked to your account.
Choose “Erase Device”
- Click on the Erase Device option. This will initiate a factory reset, deleting all data and unlocking the phone.
Confirm the Reset
- You’ll be prompted to confirm your choice and may need to re-enter your Google account password.
Wait for the Process to Complete
- The device will begin the erasure process, and once complete, it will be reset to factory settings.
3. Use Google Find My Device

Google Find My Device is another handy feature that can help you unlock or reset your phone entirely. It works similarly to Android Device Manager but offers an additional option to reset the password of your locked phone, providing an alternative to a complete factory reset.
Step-by-Step Guide to Unlock via Google Find My Device
- Log in to Find My Device
- Open a browser and navigate to android.com/find.
- Sign in with the same Google account synced to the locked phone.
Select the Locked Device
- Click on the one you wish to unlock from the list of registered devices.
Set a New Password
- Click on the Secure Device option.
- Enter a new password for your device and confirm it.
Unlock the Phone
- Use the newly set password to unlock your Android device directly from the lock screen.
4. Unlocking a Locked Android Phone Using Forgot Pattern Feature
The Forgot Pattern feature is a built-in Android tool available on Android 4.4 or earlier devices. It allows you to bypass a forgotten lock pattern by using your Google account credentials. While this feature is limited to older Android versions, it remains a simple and effective method to regain access to your device without performing a factory reset.
Step-by-Step Guide to Using Forgot Pattern
- Attempt the Incorrect Pattern
- Continuously try incorrect patterns on your device’s lock screen.
- After several failed attempts, the option Forgot Pattern? It will appear at the bottom of the screen.
Tap “Forgot Pattern”
- Select the option to proceed with unlocking your device.
Enter Google Account Credentials
- Input the Google account email and password linked to your locked Android phone.
- This step requires an active internet connection on the device.
Set a New Unlock Pattern
- Once authenticated, you will be prompted to create a new unlock pattern.
- Draw the new Pattern and confirm it by redrawing it.
Access Your Device
- Use the newly set Pattern to unlock your phone and regain access.
Now that your phone is unlocked you can now reset your phone by navigating to About Phone>Factory reset.
5. Use Third-Party Software
If none of the built-in features work, third-party software can be an effective alternative for unlocking a locked Android phone. These tools bypass lock screens, remove forgotten PINs or patterns, and even perform factory reset. However, choosing a reliable software option compatible with your device and operating system is crucial to avoid complications.
Overview of Third-Party Software Options
- Dr.Fone – Screen Unlock: Known for its user-friendly interface and compatibility with various devices.
- iMyFone LockWiper: A robust tool for bypassing various lock screens, including PIN, Pattern, and password.
- Tenorshare 4uKey for Android: Offers quick and easy solutions for unlocking phones without data loss.
Conclusion
Being locked out of your Android phone can be a frustrating experience, but there are various methods to regain access. Whether you choose to use recovery mode, Android Device Manager, or third-party software, it’s essential to understand the implications of each method, particularly data loss. For older devices, features like “Forgot Pattern” offer quick solutions, while modern tools provide additional flexibility. Ensure your data is backed up regularly to minimize loss during such scenarios. With the steps outlined in this guide, you can confidently reset your Android phone and regain control.
FAQs
To factory reset a locked Android phone, you can:
1. Boot into Recovery Mode by pressing specific button combinations (usually Power + Volume Up buttons).
2. Use Android Device Manager to erase the device remotely.
3. Both methods will restore the phone to factory settings, erasing all data.
Yes, you can unlock your phone by:
1. Using Google Find My Device to set a new password.
2. Using third-party software compatible with your phone.
3. Accessing the “Forgot Pattern” feature if your Android version supports it.
A simple restart does not bypass the lock screen. However, you can:
1. Use Recovery Mode to perform a factory reset.
2. Use third-party tools to bypass or remove the password.
3. Remember, these methods may erase your data if not backed up.
Read More:


Comments
Loading…